How to Include a Raspberry Pi in a Remote Demo – Part 2
A few posts back I had an article on How to Include a Raspberry Pi in a Remote Demo. We just did another virtual event leveraging Raspberry Pis with more than 3 dozen attendees. and I’ve discovered a few more tricks I’d like to share.
A minor one was the color of the work surface I’d setup the system on. I’m using a 2′ long shelf from Home Depot as a portable work surface, mounting the camera to help keep it steady. I thought contrast would be good and cause the breadboard to stand out more. The black finish actually caused the camera to adjust and make the pins harder to see as it washed out the image. Switched to a white shelf and the pins in the breadboard are far more distinct. A little Velcro keeps the parts in place, and the whole unit can be unplugged and moved out of the way when not in use.
Changes
The biggest change was the camera itself. I had been using an inexpensive (and ancient) Microsoft webcam. The pandemic had made it expensive to upgrade last year, but supply has caught up. A few lessons came from this exercise. I started with an off-brand 4K one that was on sale. Unfortunately the color balance was off and the picture was pretty poor. This is a spot to go with a name brand!
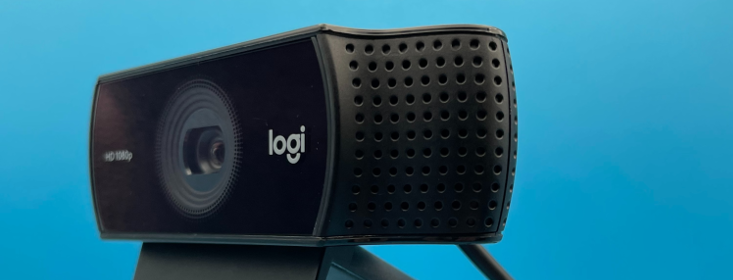
I switched to a Logitech 4K Pro Webcam, and although the picture quality improved dramatically, there was too much lag even on the USB3.0 port. I could have looked into overclocking the Pi or dug more into other settings, but it was easier to just swap the older Logitech I regularly use for my normal meetings. The resolution did go down, but not enough to make the upgrade not worthwhile. It also meant that the cam I use for all of my meetings is better quality now.

Photo by Deeterontop on Unsplash
The switch to Logitech also highlighted another benefit of a mainstream brand. Now there is way more you can do from the command line to change the image settings and quality. I had found that as I added wires and components, the breadboard became fuzzy. The focus shifted to the wires, which were closer. And the focus would go in and out as my hand entered and exited view. Turns out with v4l-utils you can turn off auto focus set the focus where you want. This made a dramatic change in the quality and also removed the distraction of focus going and and out so much. Now v4l-utils works for lots of different web cams, but with Logitech there was plenty of support and usage. This means a more stable and powerful experience for the end user.
Getting Close
VNC has a great feature called “Interactive Zoom” where you can zoom and move that zoom around. Unfortunately there is an bug where this doesn’t work if you have rotated the image. Here is another spot where v4l-utils helped. I created to shell scripts that set the focus and the zoom. Named ‘zin’ and ‘zout’ (“zoom in” and “zoom out”) they allowed me to quickly zoom in to show where wires went, then zoom out to show me interacting with the buttons as well as the LEDs changing.
#!/bin/sh
sudo v4l2-ctl -d /dev/video0 --set-ctrl=focus_auto=0
sudo v4l2-ctl -d /dev/video0 --set-ctrl=focus_absolute=100
sudo v4l2-ctl -d /dev/video0 --set-ctrl=zoom_absolute=100
Will there be a Part 3 of this article? Of course! I’ve got a Arducam 13MP Pi Camera, Aducam CSI to HDMI Extension Module and a Mini Pan/Tilt Camera Platform I need to hook up and test. Was that $65 worthwhile to spend here? Check back later to see!